谷歌浏览器导出书签的操作方法
1、打开谷歌浏览器。今天我们要导出的是书签栏上的所有书签;
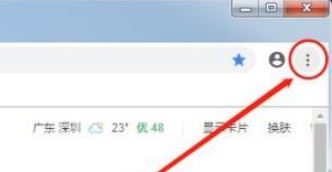
2、单击一下浏览器右上角竖着排列的三点形状的按钮(“自定义及控制 Google Chrome”按钮),如图:
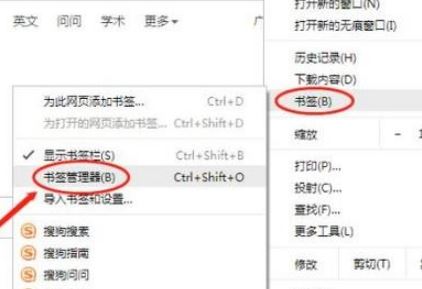
3、点击“书签”,然后点击进入“书签管理器”;
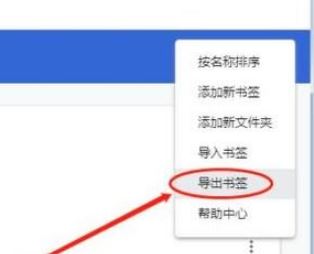
4、在书签管理器页面,将鼠标移到“整理”按钮(竖着排列的三个白点图标)所在的位置,点击它,如图:

5、选择并点击“导出书签”。
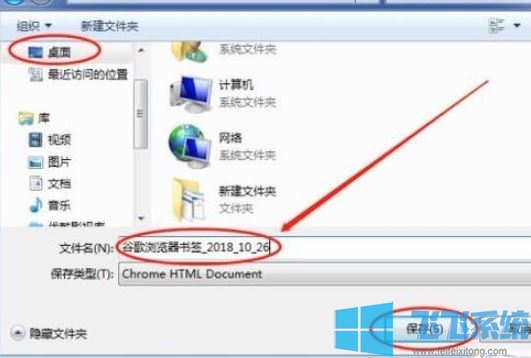
6、最后在弹出的另存为窗口中选择书签文件的保存位置(为方便以后查看,我们也可以修改一下书签文件的名字);最后,再点击“保存”按钮。
小提示:也可以直接按下快捷键“Ctrl+Shift+O”打开书签管理器。
以上便是深度系统小编给大家谷歌浏览器导出书签的操作方法!
分享到: