Excel制作饼状图的制作教程
1、打开你电脑中的Excel 2007,如图所示:

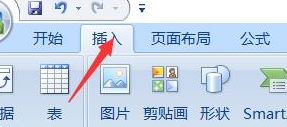
2、在Excel操作界面中找到插入选项,如图所示:
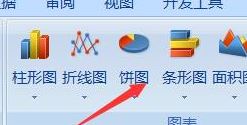
3、选项里有饼图选项,如图所示:
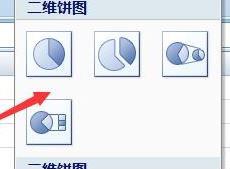
4、在弹出的二维饼图界面,点击饼图选择你想要的类型
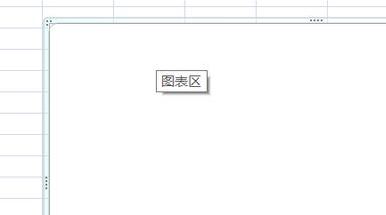
5、接着选择好后你的图表中出现一个空白边框,如图:
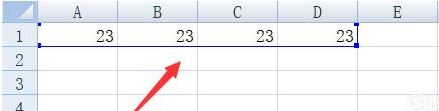
6、将你想要放入图中的数据拉选。
7、你之前选择的饼图就会显示出图形了,这样也成功在Excel表中成功插入饼图了。

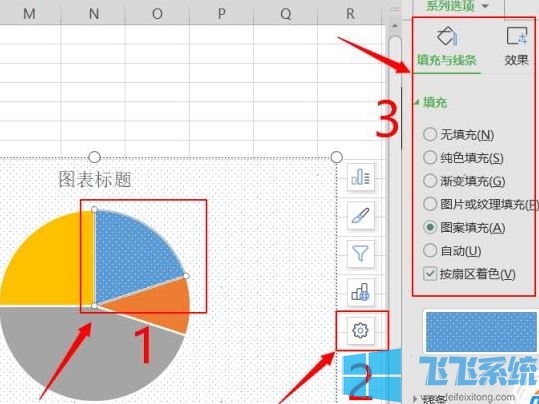
8、接着在扇形图设置里选择图片或者纹理填充,这样的填充效果更有特点。选择需要填充的部分,在点击旁边的设置后,就可以进行填充想要的效果,如图:
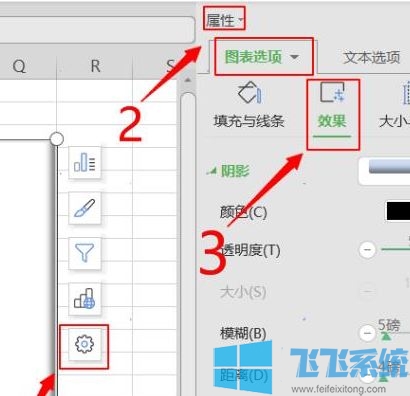
9、点击设置后,在“图表选项”中的“效果”里,就可以进行效果设置,增加立体感,让我们的饼图看起来更有立体感;
至此在Excel2007软件中制作饼图的操作完毕!
以上便是深度系统小编给大家介绍的Excel制作饼状图的制作教程~
分享到: